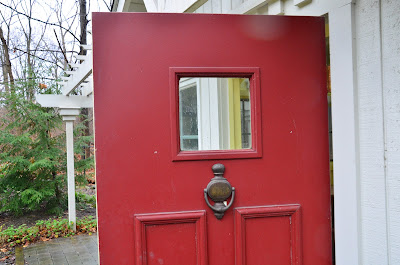
Okay, it's a girl cave. Rakes rather than recliners. No big screen television, but a recycled CD player shaped like a VW Beetle provides musical ambience. How about a mini fridge and a ceiling fan? It can get hot out there!

The beauty of a potting shed, particularly in a green world--is that what's out is in. The proper Feng Shui involves a bit of forbidden
tchotchke. A table salvaged from the curbside, and heavy iron tools unearthed at an estate sale are prized posesssions, happily displayed.
A potting shed need not be elaborate, in fact, the tree house can be converted after the youngest leaves for college.
Top priorities for potting shed construction?

1. Wall tool storage. Wall mounted wooden dowel pegs extending eight inches and spaced apart in varying distances are highly efficient. Modern metal premade wall hangers are also available.
2. Counter space. There's never enough. Tender flats can be temporarily located on this space to avoid the frost. Gardeners always have full hands and clear open counter space is premium. Wooden countertops are inexpensive and easily brushed clean of stray soil.
3. Open shelving: Open shelves allow for easy access to tools, pots, and garden food. Equipment tucked cupboard doors are often forgotten. Shelves can be located anywhere, above doors, windows, below counters.
4. The wish list:
- Easy access to a water source to avoid lugging. Most projects require H2O.
- If water access is impractical, install gutters and attach to a rain barrel.
- Windowboxes -- of course!
- A garden cart and room to store it. Mine fit under a work table.
- Exterior cupboards for off season container storage. Install latches to keep out critters.
- Compost bin nearby.
- Skylights for natural illumination.
Maybe it's merely converting a corner of the garage, or adding a potting bench under the eaves.
Perhaps the pergola was a bit over the top, but it certainly was lovely!
Sumptuos or simple, every gardener needs some space--every girl needs a cave.
More Articles of Interest:
 Precut benches are available at the touch of a keyboard, but can be fragile and the lumber often lasts only a few seasons. They're "one size fits all gardeners." Reinforcing premades with extra braces and coating with exterior stain or polyurethane extends the life of the bench.
 At the side, include a storage bucket for long handled forks and spades. Drill holes for drainage.


